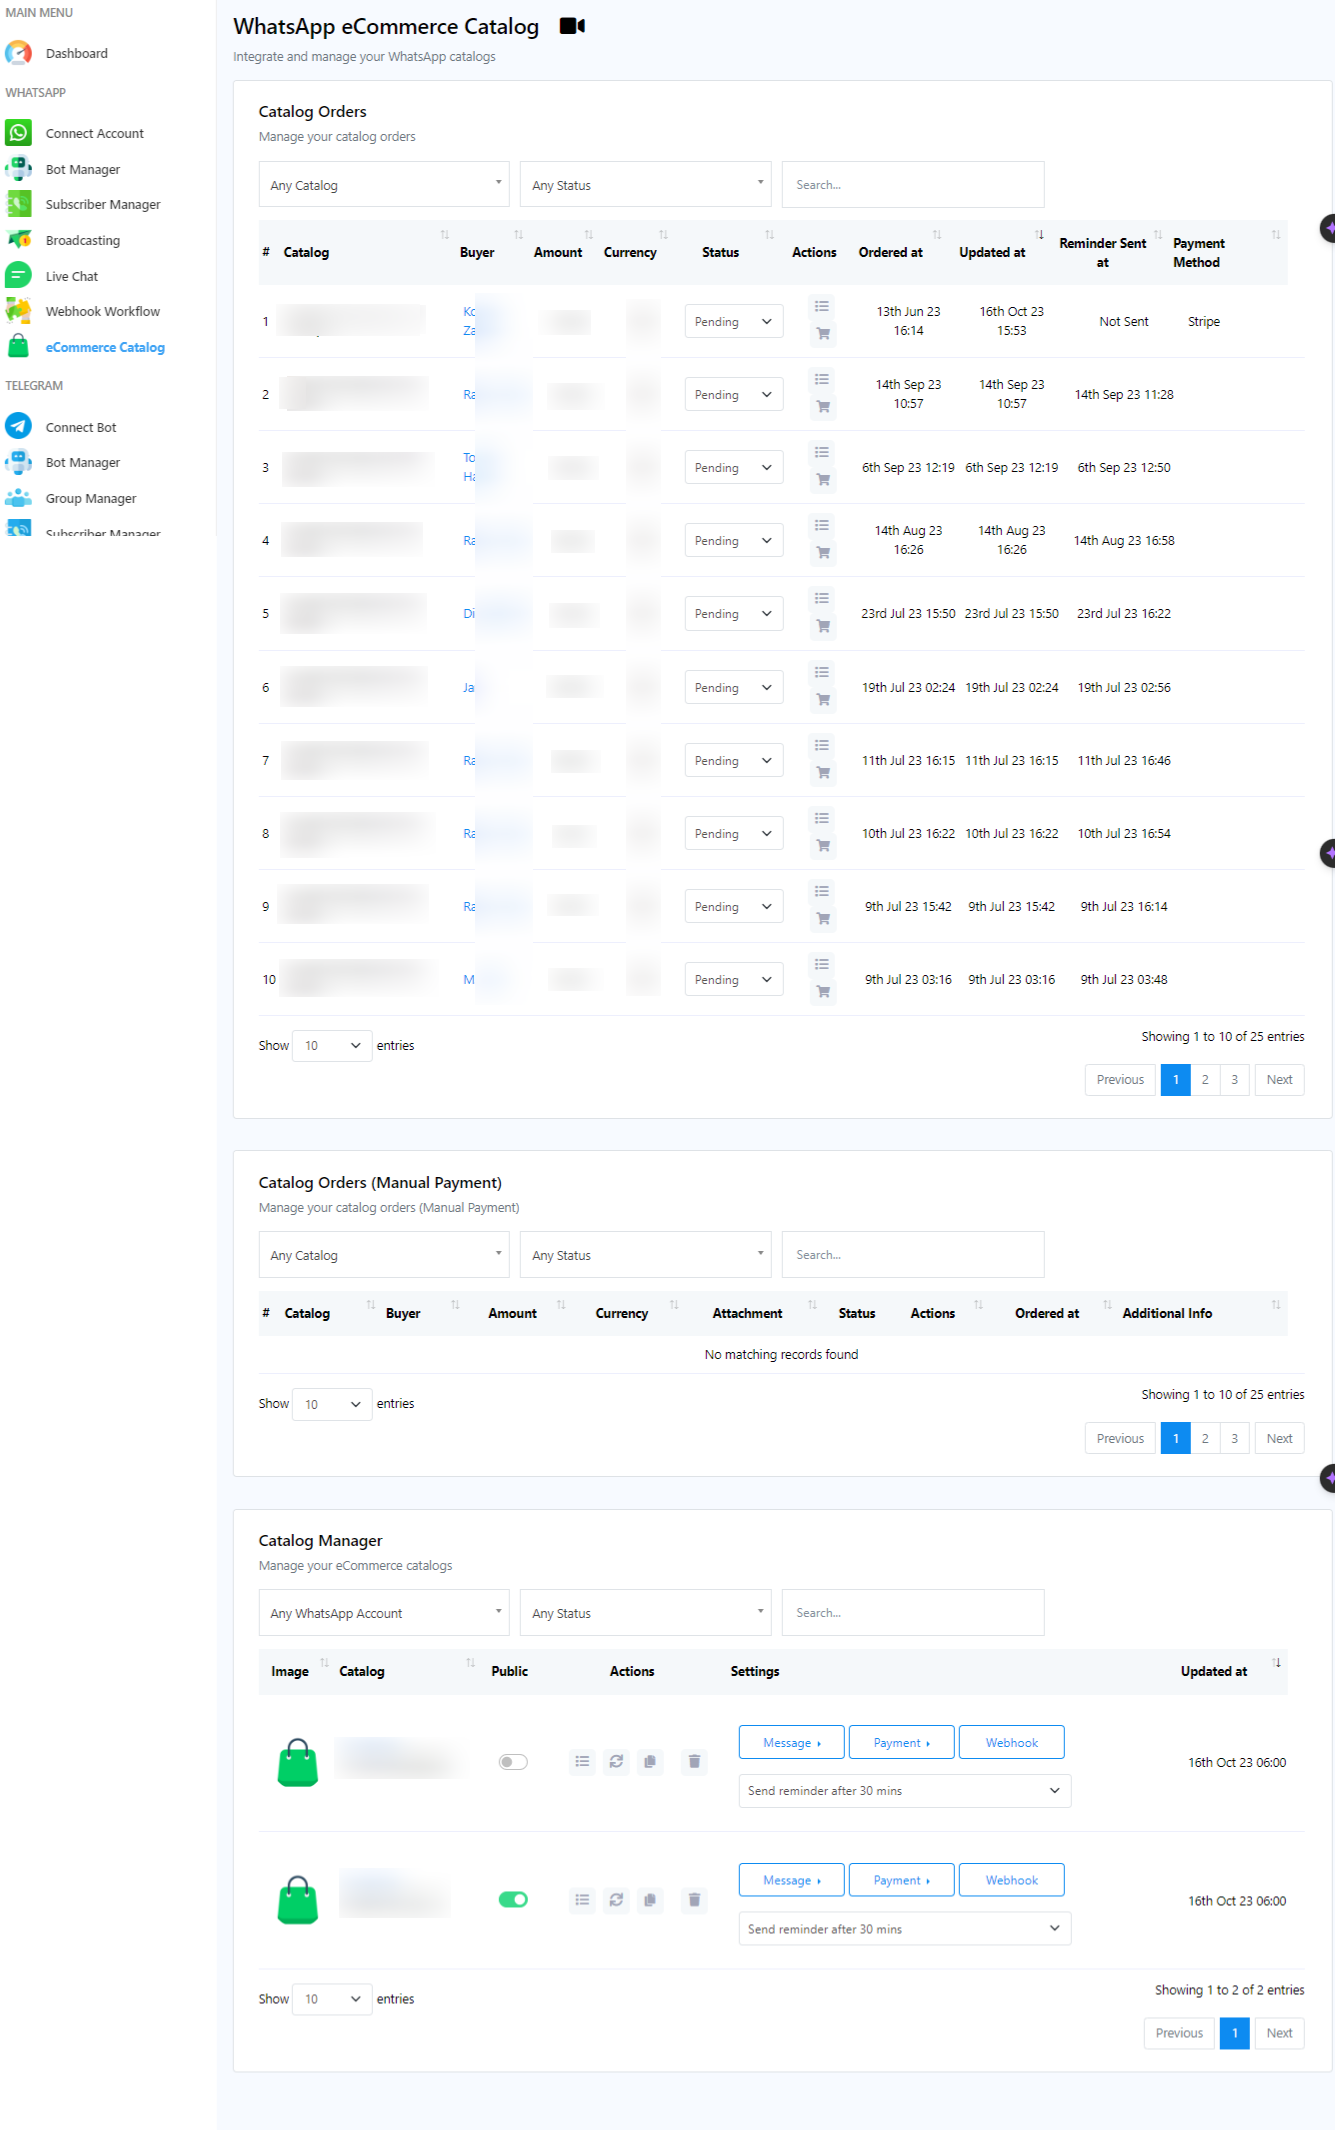
WhatsApp Ecommerce Catalogue
WhatsApp Ecommerce Catalogue is a robust feature that empowers businesses to showcase and manage their products or services directly within the WhatsApp messaging platform. This tool serves as a virtual storefront, allowing businesses to create a catalog of their offerings, complete with product descriptions, images, pricing, and direct links for easy purchase.
To create a catalog and integrate it with faru.pro, follow the below steps.
- Create an eCommerce Catalog
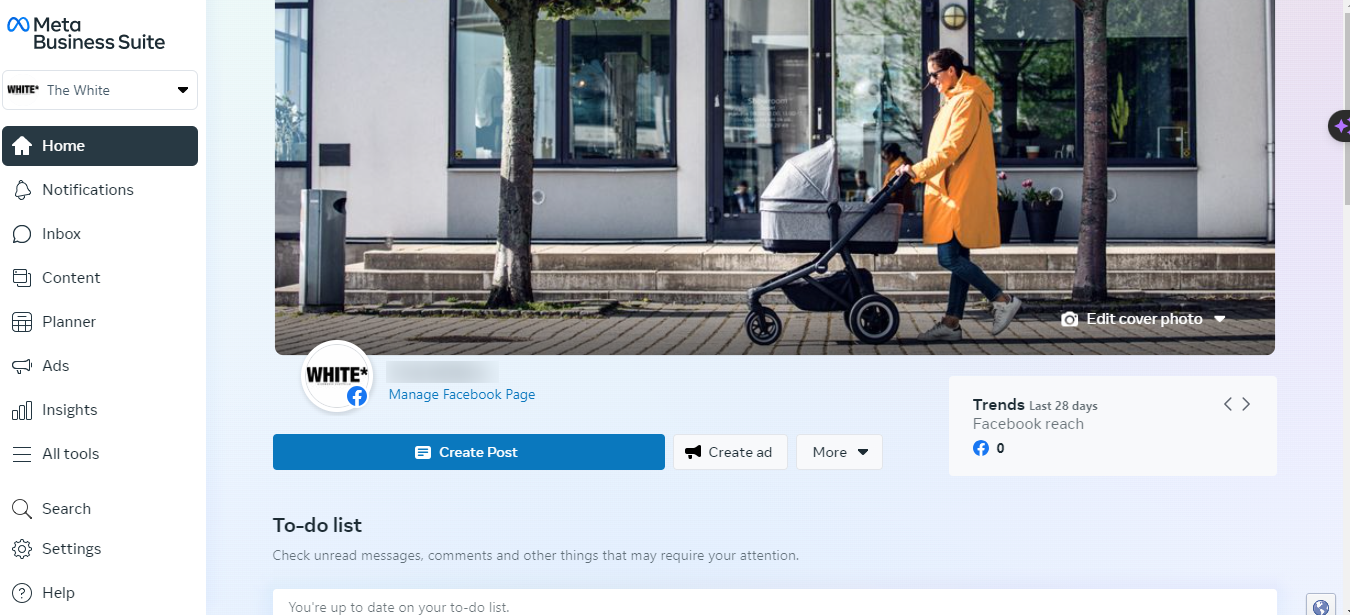
- Go to business.facebook.com.
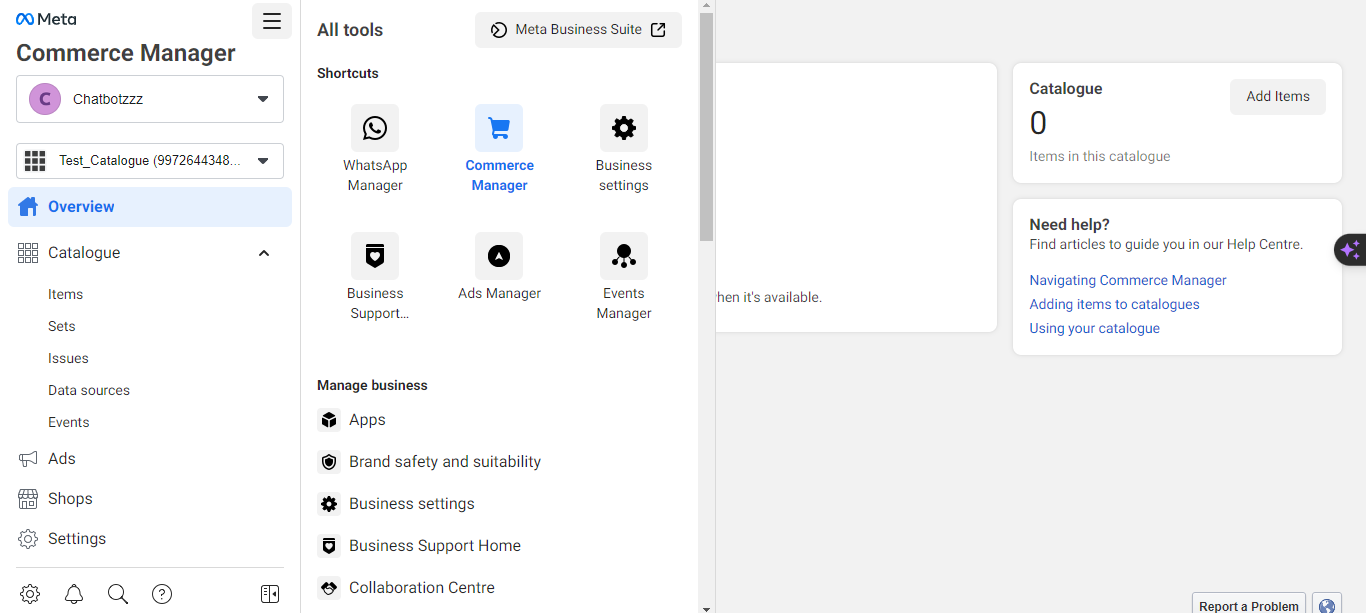
- Click on the `All Tools` menu.
- Click on `Create` and give the template a name.
- Select `Commerce`.
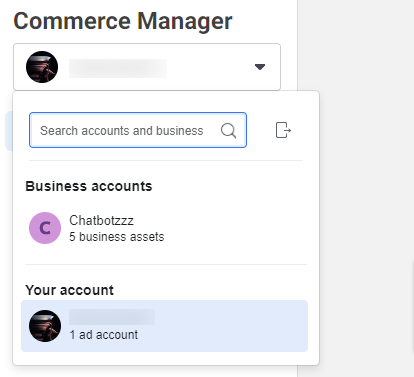
- It will redirect you to the Commerce Manager.
- From the top right corner, click on the profile and select your business account.
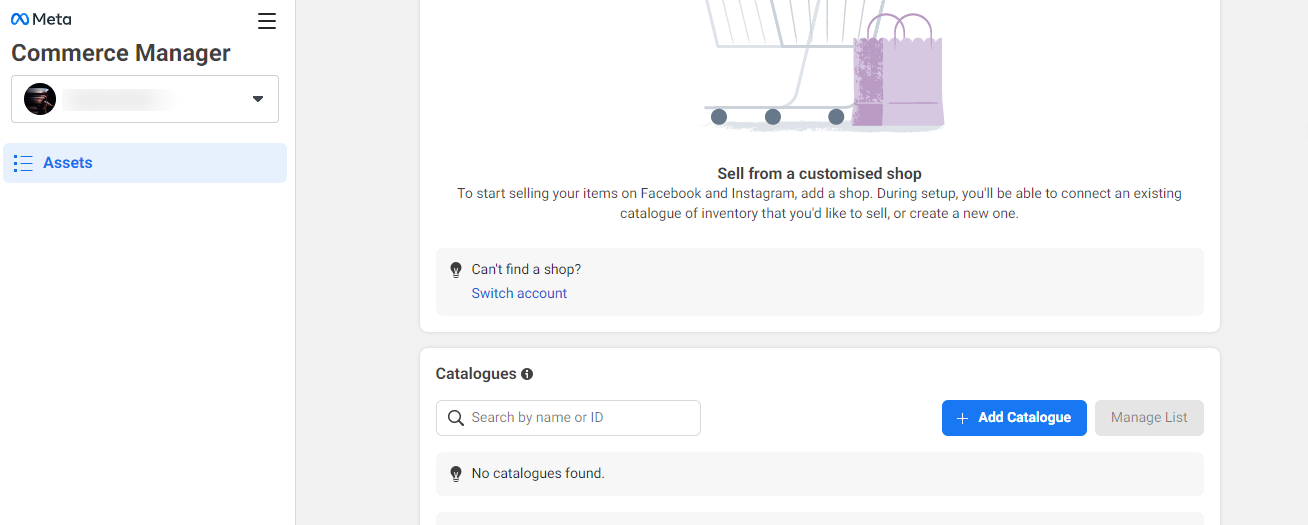
- Click on the `Add Catalogue` button.
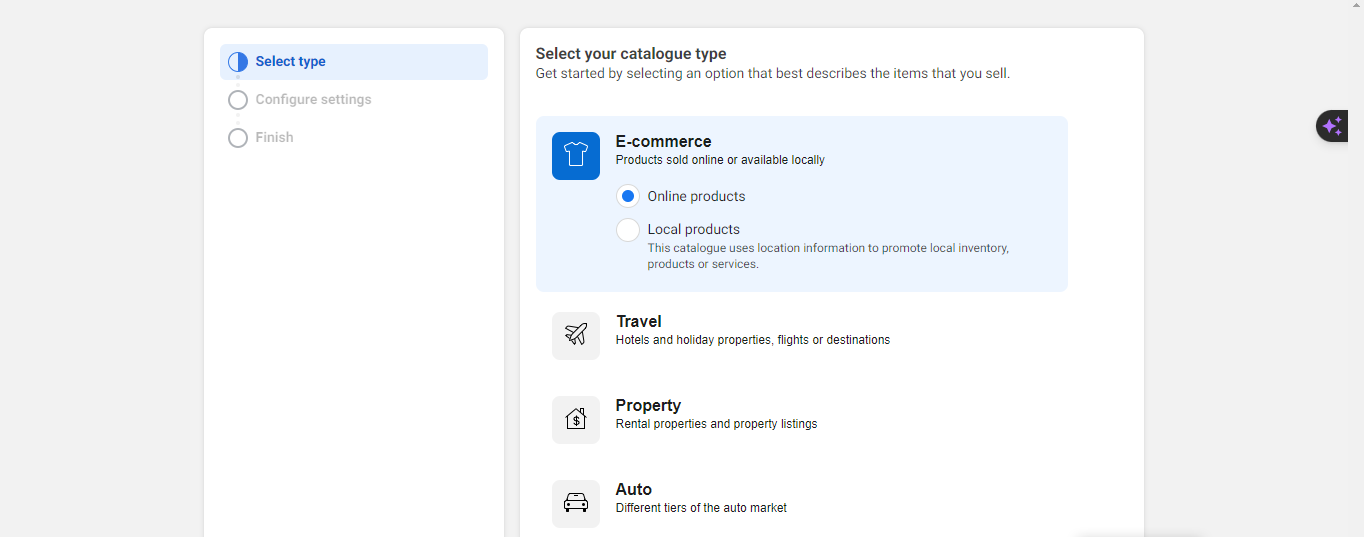
- Choose the catalog type as `E-Commerce`.
- Select `Online` or `Local Products` based on your business type, then click `Next`.
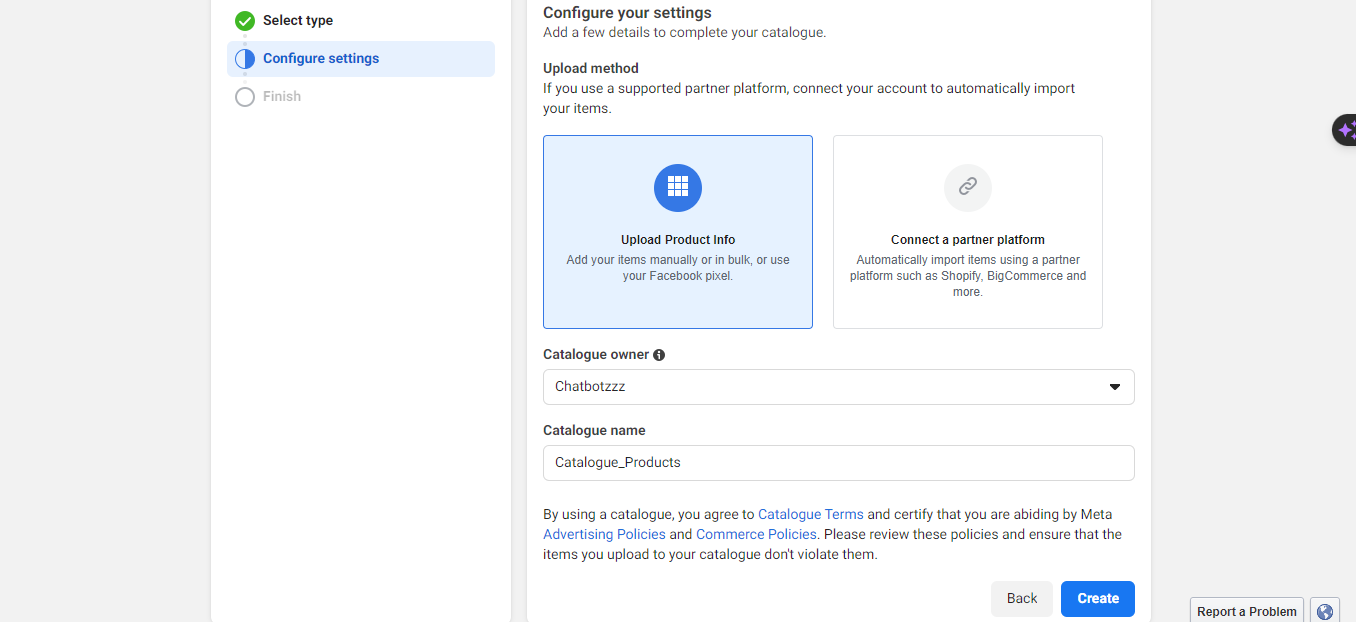
- Choose the upload method (Upload Product Info or Connect a partner platform). For now, select the Upload Product Info.
- In the catalog owner section, select your business if you have multiple businesses.
- Give a name to the catalog and click `Create`.
- Add Products to the Catalog Manually
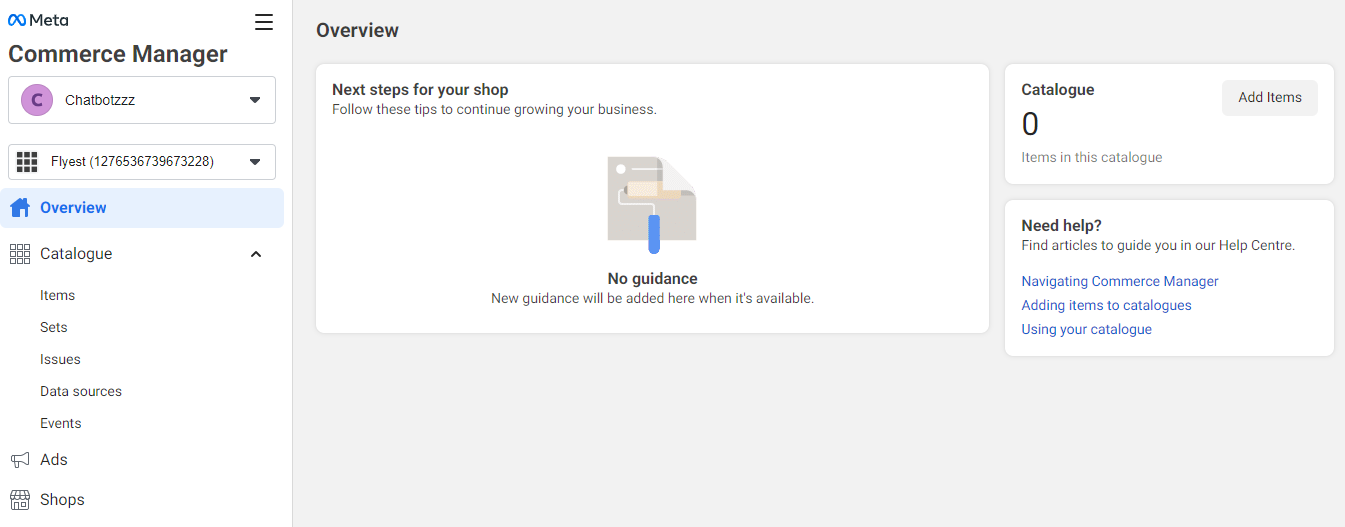
- Click on `View Catalog`.
- Click on the `Add Items` button.
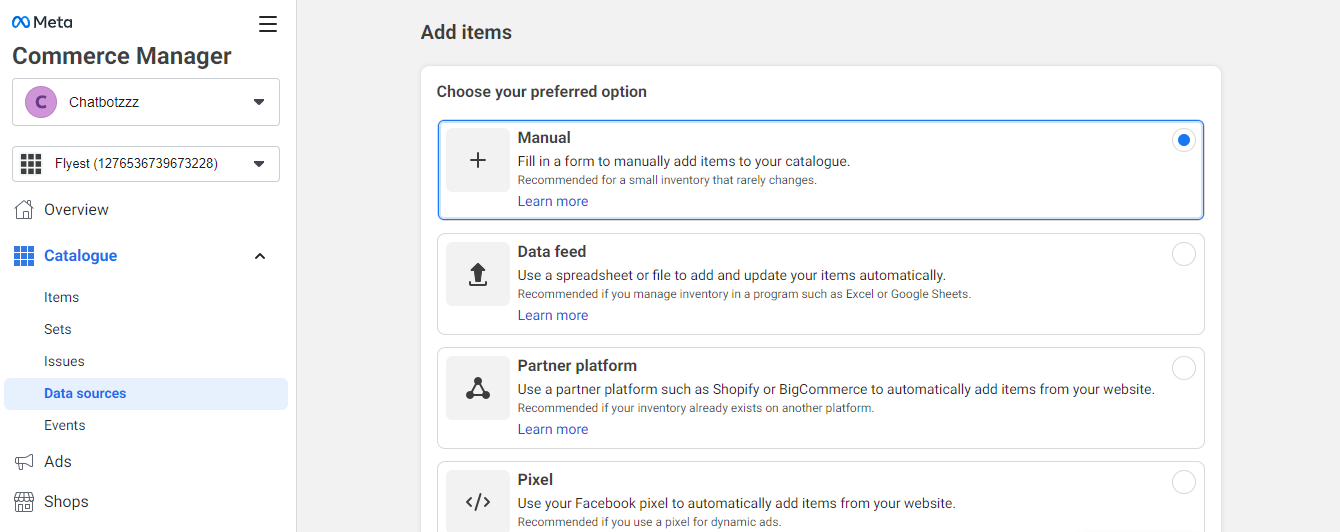
- Choose to add products manually.
- Click `Next`.
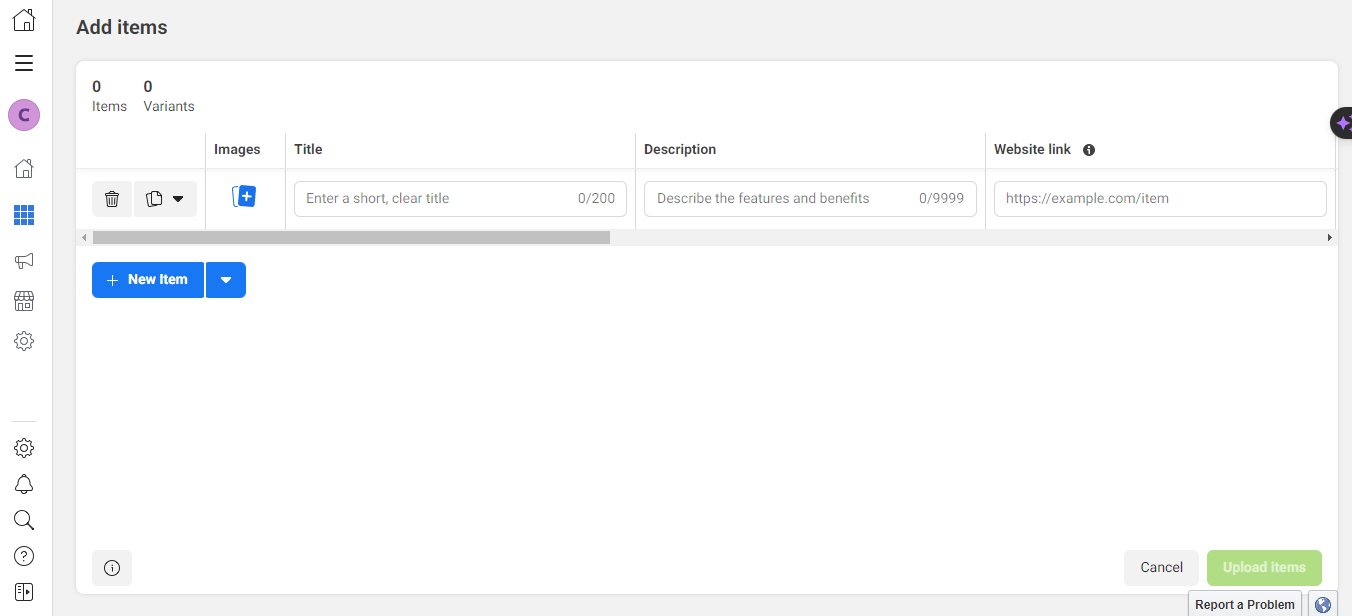
- Upload product images.
- Enter the product title and description.
- Provide the product`s website link.
- Set the price and sale price (if applicable).
- Optionally, select a Facebook product category and condition.
- Configure availability and status options.
- Brand name and content IDs are optional.
- Click `Upload Items`.
- Connect the Catalog to WhatsApp
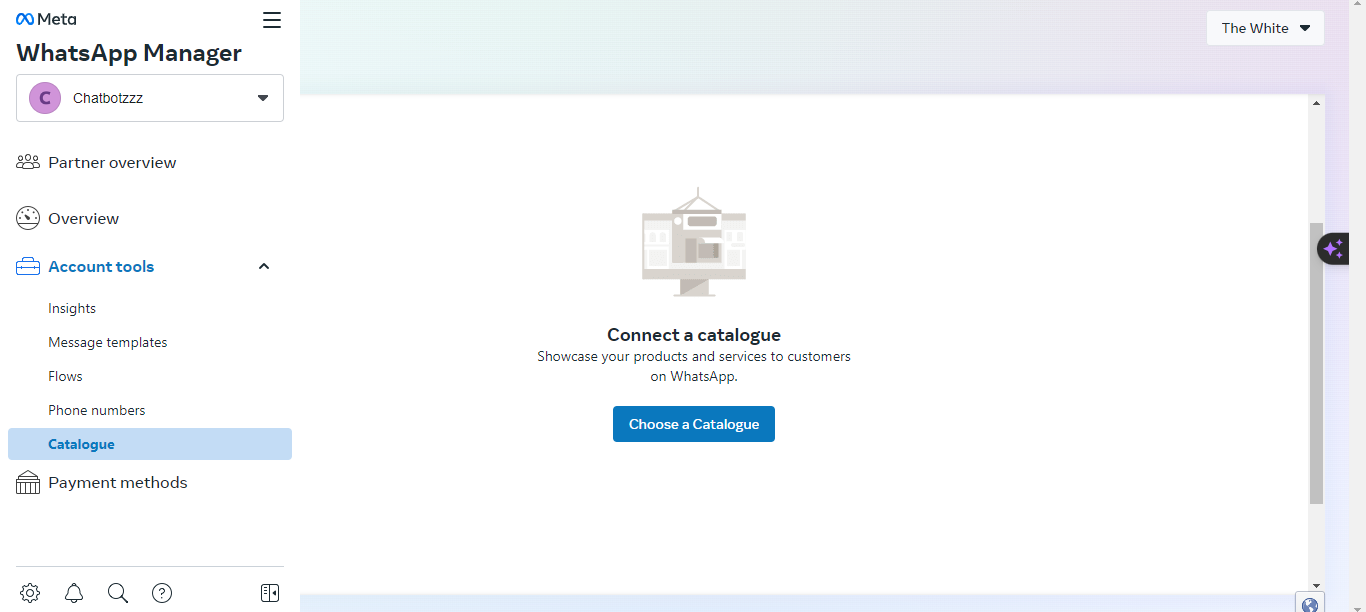
- From the `All Tools` menu, select `WhatsApp Manager`.
- Under Account Tools, click on `Catalogue`.
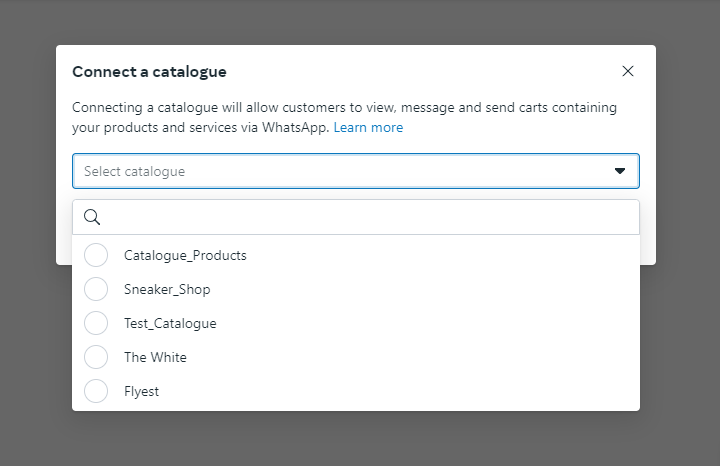
- Click on the `Choose Catalogue` button.
- Select the catalog.
- Click on the `Connect Catalogue` button.
- Use the Catalog on WhatsApp
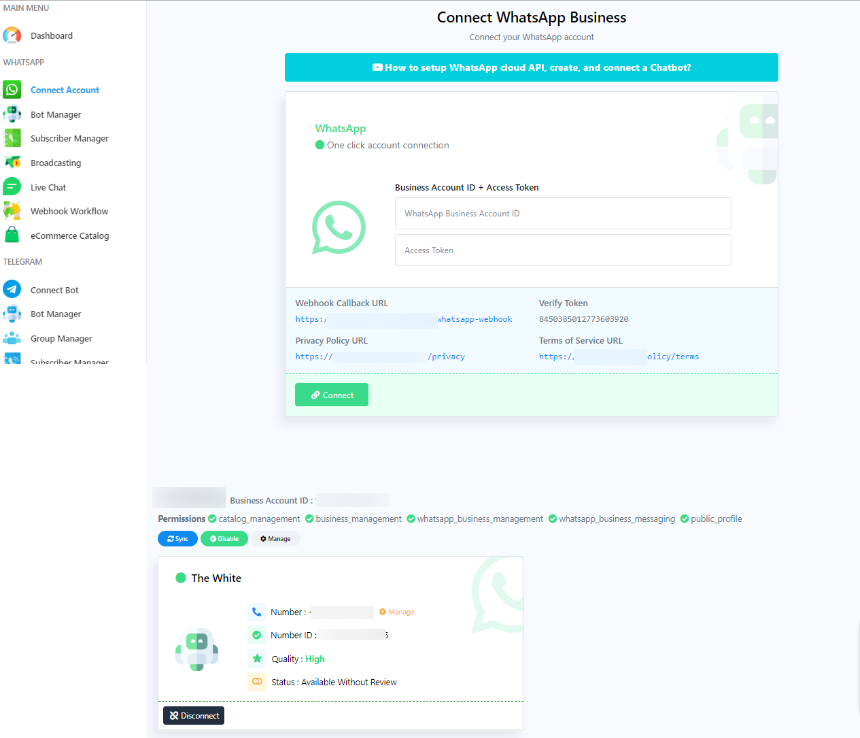
- Go to `Connect Account`.
- Choose the WhatsApp account.
- Click on the `Synchronize` button.
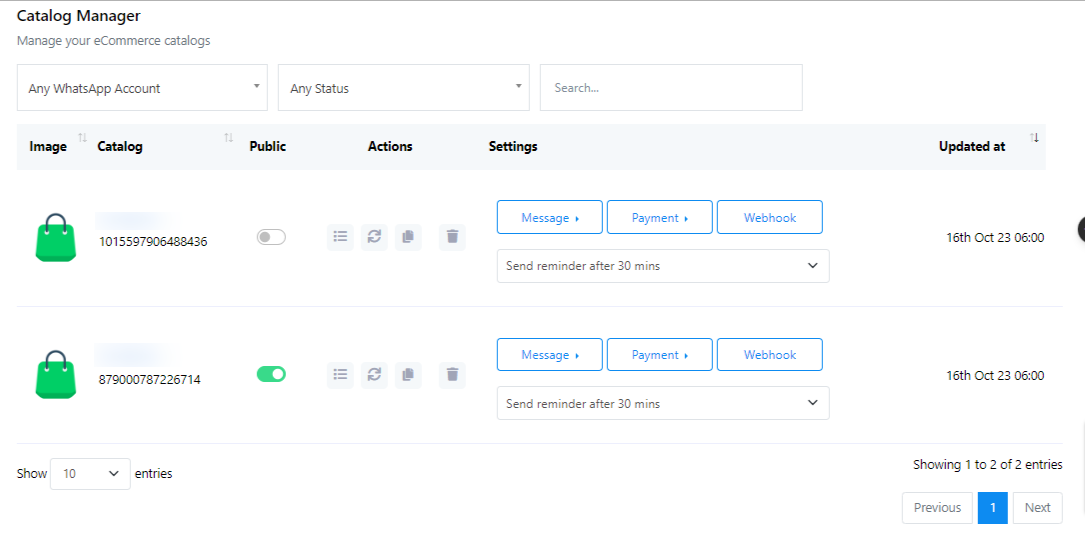
- Configure Catalog Settings
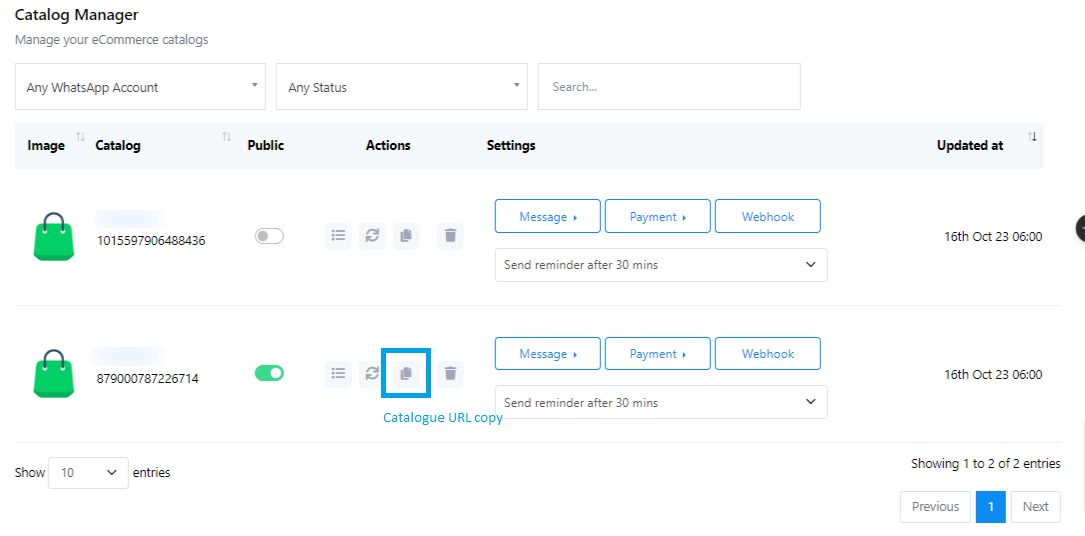
- Go to the eCommerce catalog.
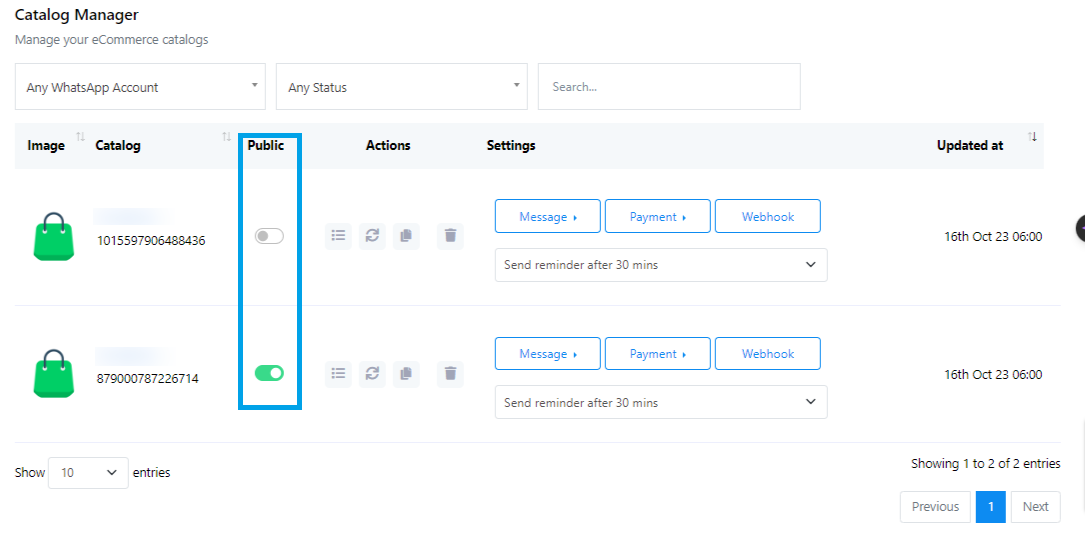
- You`ll find the catalog name and ID. There`s an option to enable or disable the public status.
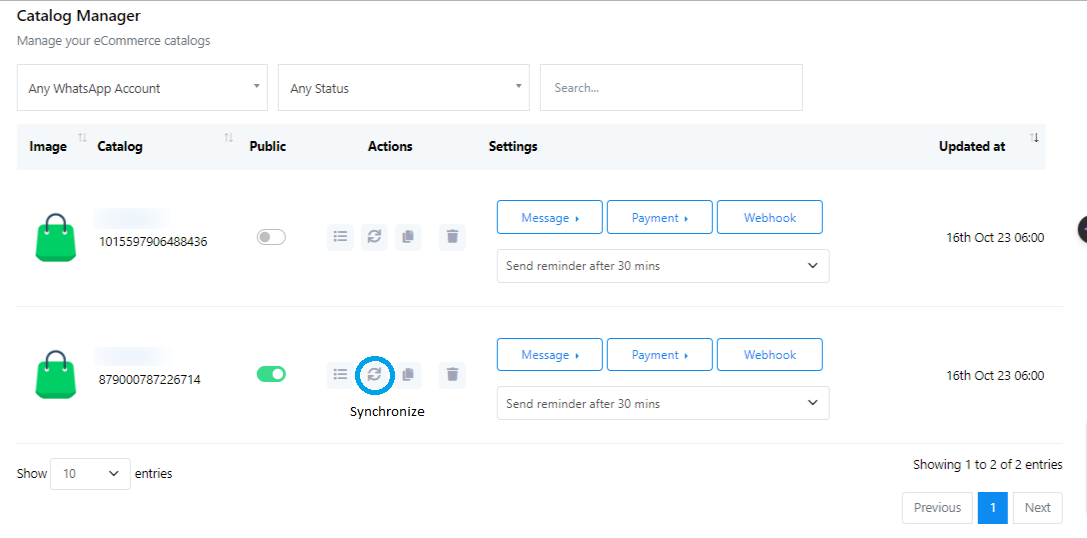
- Under `Actions`, you can view catalog products. Synchronize any added or updated products.
- Select products and click `Synchronize`.
- You can also synchronize the full catalog.
- You can copy the catalog URL to share with your users.
- Remove the catalog by clicking the delete button.
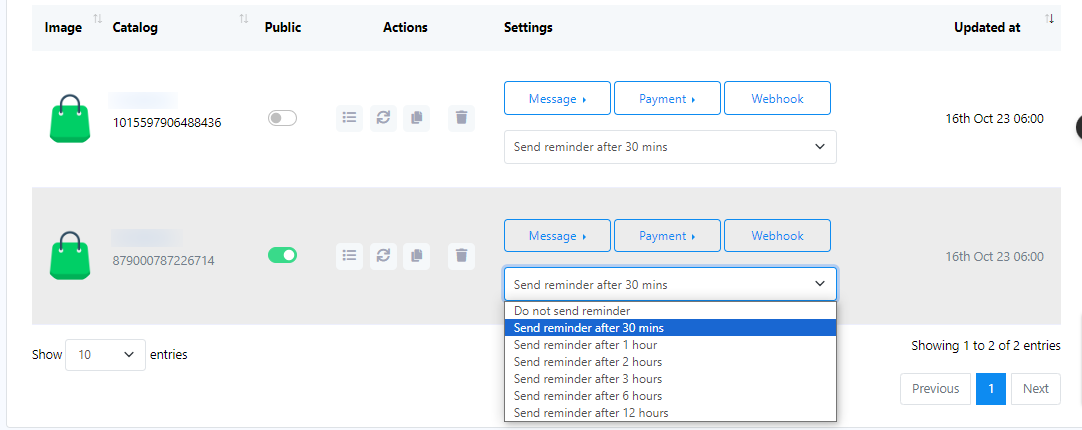
- Configure Message Templates and Settings
- Scroll down to `Catalog Manager`.
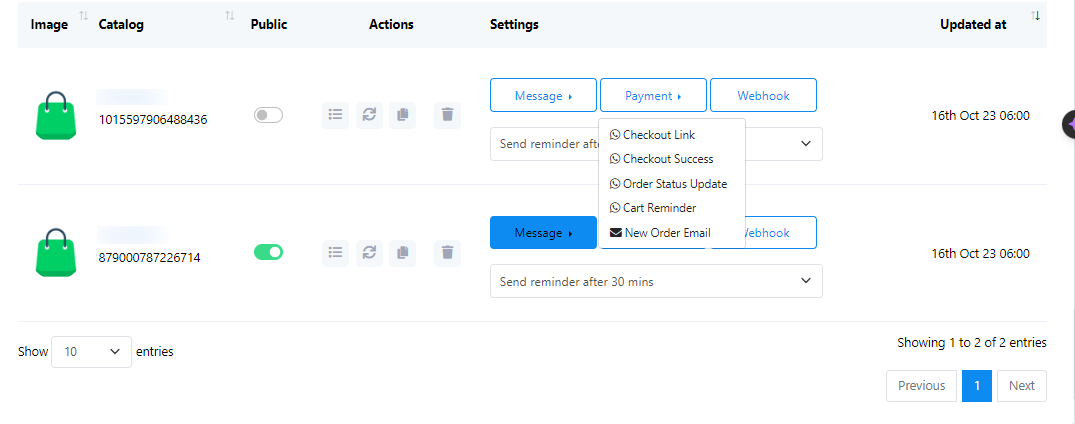
- Edit the message for the Checkout URL and Reminder.
- You can rewrite the message but don`t change the Checkout URL.
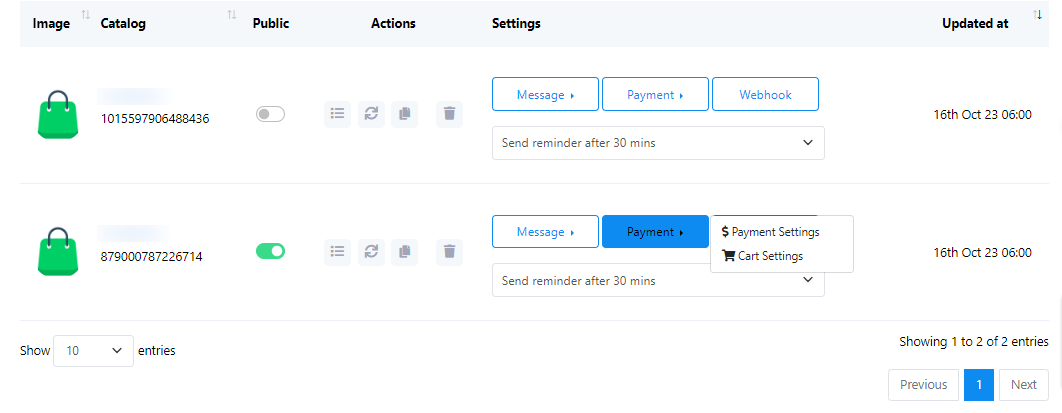
- Add the payment method in Payment Settings (multiple options available).
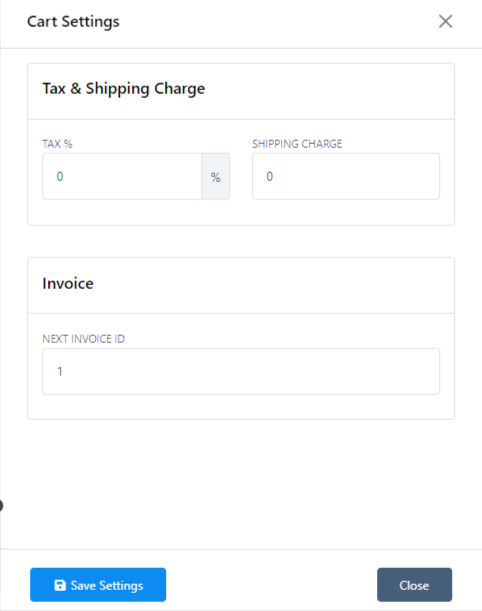
- Configure cart settings, including tax percentage and shipping charges.
- Set up an abandoned cart reminder message and select the timing.
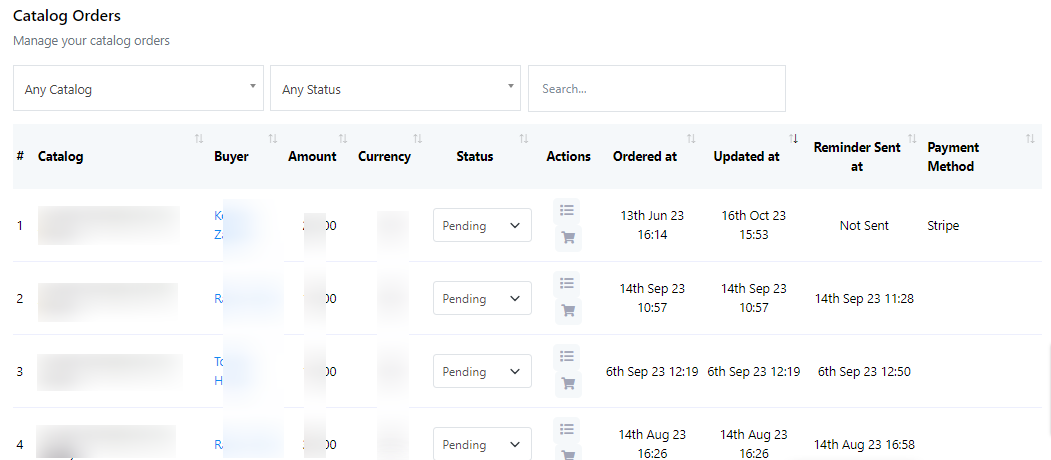
- You can view catalog orders and change the status of an order from the `Catalogue Order` at the top of the page.
- Using the Catalog on WhatsApp
- When a user clicks on the catalog link you shared, the catalog will open on their WhatsApp.
- They can add products to the cart and proceed to checkout.
- Users will receive a checkout link on their WhatsApp.
- They can complete the purchase on the checkout page.
- Configure cart settings, including tax percentage and shipping charges.
- Set up an abandoned cart reminder message and select the timing.
- You can view catalog orders and change the status of an order from the `Catalogue Order` at the top of the page.


This step-by-step documentation should help users create an eCommerce catalog and use it on WhatsApp following your provided script.