WhatsApp Webhook Workflow
Webhook workflow is a feature that allows you to automatically send messages to your WhatsApp subscribers whenever a specific event occurs in a third-party system. For example, you could use a webhook workflow to send a WhatsApp notification to your customer whenever an order is placed on your WooCommerce/Shopify store or any other platform.
To create a webhook workflow, you will first need to create a message template. This is the message that will be sent to your subscribers. You can use variables in your message template to insert data from the third-party system.
Once you have created a message template, you can create a webhook workflow. To do this, follow these steps.
- Create a Message Template.
- Go to faru.pro Dashboard and navigate to the Bot manager section.
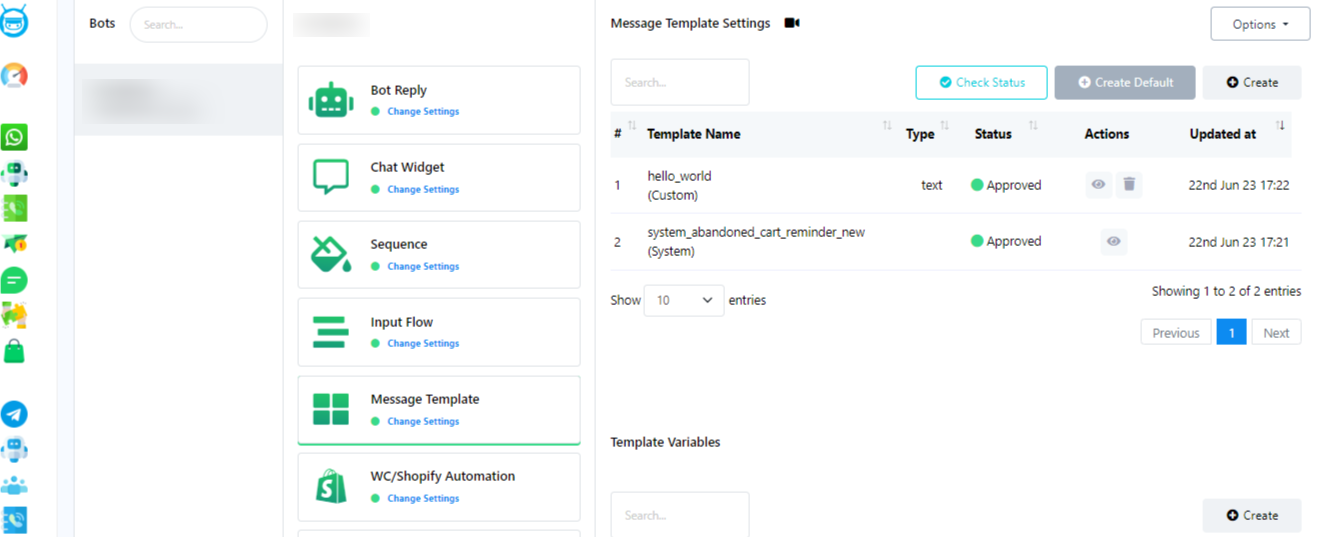
- Navigate to the Message Template section.
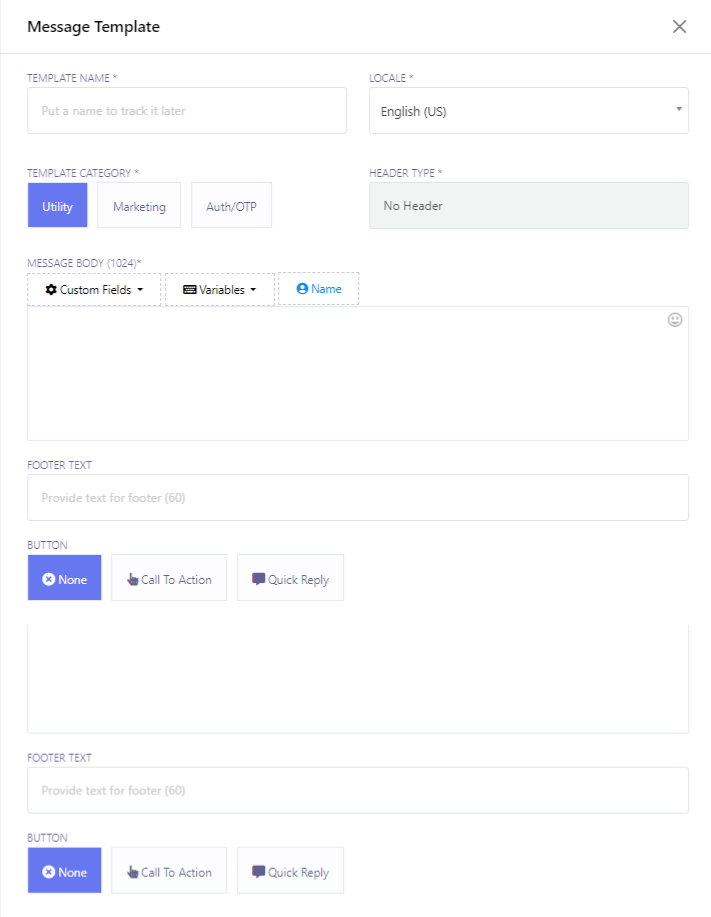
- Click on `Create` and give the template a name.
- Write the message body, including a promo code (e.g. 20% off) and variable placeholders for products.
- Save the message template, ensuring it`s approved by WhatsApp.
- Set Up Webhook Workflow.
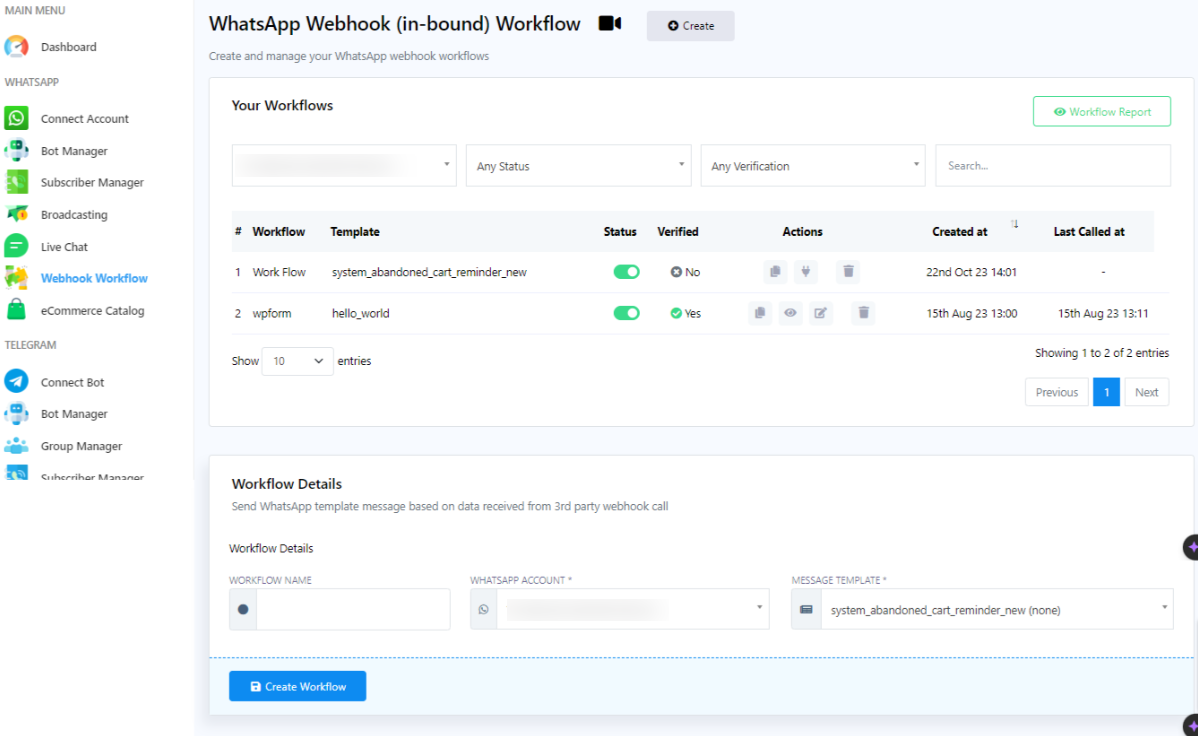
- Access the Webhook Workflow in faru.pro.
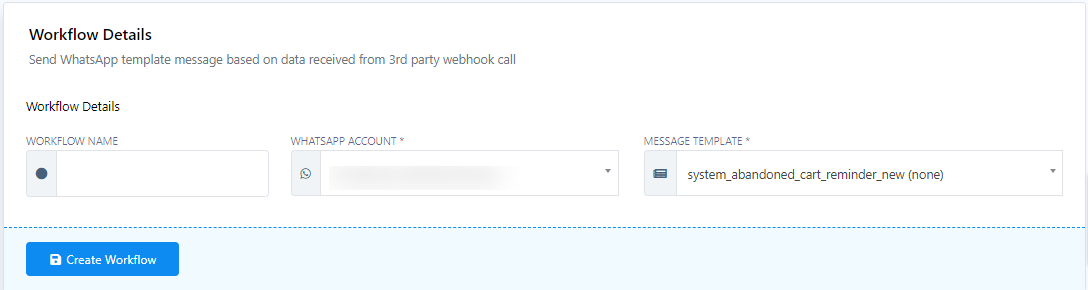
- Create a new workflow, giving it a name.
- Select the WhatsApp account from which messages will be sent.
- Choose the message template you created in Step 1.
- Click on `Create Workflow` to generate a Webhook Callback URL.
Copy the URL and paste that URL to your desired websites (such as Shopify, Woo Commerce, or Elementor From) and call back the URL option to get the data from that website.
Now, when you receive sample data, you will have to map it.
To learn more, check out our YouTube videos (embedded videos).